How to

How to

Step-by-Step Guide: Block Setting Section

1. Navigate to the Block Setting Section: Click on ‘Add’ for the ‘Block setting section.’ 2. Access the Block Setting Interface: The following interface appears: Add a New Block Setting: Tap on the + icon at the bottom right. The following screen will be displayed: Enter the Block Setting Details: Add the desired setting, for example, ‘apps,’ and click on OK as shown below. It will be added to the list: Verify the Block Setting: Go to Settings and tap on Apps as shown below. Check the Enabled Block Setting Section: The interface will look like the following since the ‘Block setting section’ is enabled.

How to Enable Password Protection on BlockP App
How to

How to Enable Password Protection on BlockP App?

Password protection will help you act as accountability partner in your journey. All you have do is add your partner email and any changes in the app will be routed through your partner and your partner can accept or decline your request. here are the step by step guide to use password protection in the BlockP app. Step 1: Go to the app and click on Advance blocking Step 2: Navigate to Accountability Partner: Click on the ‘Add’ button located in the ‘Accountability Partner’ section. Step 3: Choose Password Protection: You’ll be presented with two options for enabling password protection. Select ‘Enable password protection.’ Note: You need to subscribe to access this feature. Step 5: Verify with OTP: A One-Time Password (OTP) will be sent to the email provided. Enter the OTP to proceed. Step 6:  Activate Password Protection: Once OTP verification is complete, the ‘Enable password protection’ feature will be activated. Disable Password Protection (When Needed): To turn off password protection: Step 1: Enter your PIN for verification. Step 2: You’ll receive an OTP via email. Step 3: Enter the OTP to confirm and disable the feature. Once you submit your OTP, the feature can be disabled.

How to Block Phone Reboot in BlockP
How to

How to Block Phone Reboot in BlockP?

Step 1: Enable the ‘Block Phone Reboot’ Option Step 2: Confirm Block Phone Reboot Ensure the ‘Block Phone Reboot’ option is toggled on. Verify that the settings have been saved correctly. Step 3: Attempt to Reboot the Device Press the power button on your device. Select the reboot option. Observe the interface message: Step 4: Understand the Reboot Block Message If the reboot is blocked, a message will appear on the screen. This happened because we have enabled the ‘Block Phone Reboot’ option. Step 5: Verify the Functionality Confirm that the device does not reboot. Check that the ‘Block Phone Reboot’ option effectively prevents unintended reboots. By following these steps, you can successfully block the reboot of your device using the ‘Block Phone Reboot’ option.

How to Block In-App Browsing in BlockP App
How to

How to Block In-App Browsing in BlockP App?

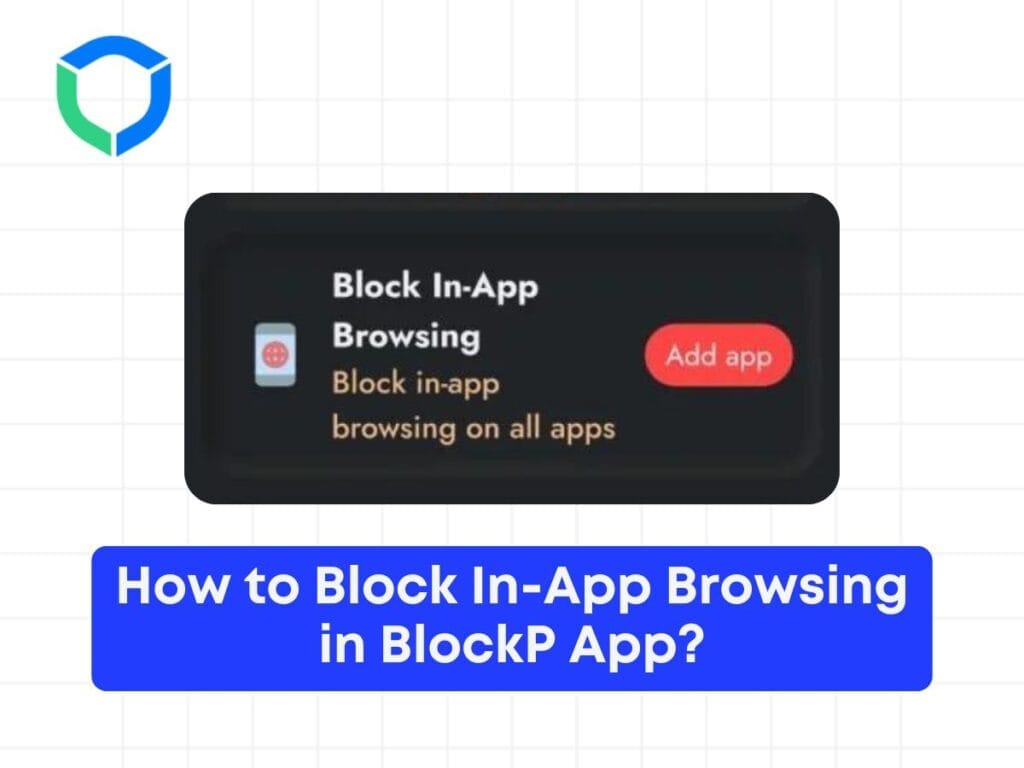
Here’s the step-by-step guide on how to block in-app browsing: Step 1: Go to “Advance Blocking” Tap on ‘Add app’: Tap on the ‘Add app’ button to enable the ‘Block In-App Browsing’ option. 2. Select apps to block: After tapping ‘Add app’, you’ll see a list of apps available on your device. Choose the apps you want to block from using their in-app browsers. 3. Example: Blocking Instagram: Let’s take Instagram as an example. Select Instagram from the list of apps. 4. Confirmation message: Once you select Instagram, you’ll receive a confirmation message that Instagram has been added to the ‘Block In-App Browsing’ list. 5. Testing the block: Open Instagram on your device. Navigate to a website link within Instagram, for example, a link in someone’s bio. 6. Result: When you click on the link, you’ll see that the website cannot be opened in the Instagram app because it’s included in the ‘Block In-App Browsing’ list. Note: Ensure you have the app settings configured to block in-app browsers for the desired apps effectively.

Long Sentence Password Protection
How to

Step-by-Step Guide on Long Sentence Password Protection in BlockP

Long sentence password is a feature that will prevent you from disabling any feature on your app. Once you enable the feature, any changes required in the app will be asked to enter a long sentence before disabling it. Step 1: Go to Advance blocking section Step 2: Go to the Accountability Partner Step 3: Enable the Feature: Enable the ‘Long sentence for password protection’. Step 2: Attempt to Disable the Feature: If you try to disable this feature, a sentence will be presented to you. Step 3: Type the Sentence: You will have to type the sentence within a given time limit. Step 4: Disable the Feature: After typing the sentence within the time limit, the feature will get disabled.

Enabling ‘Prevent Uninstall’ in BlockP App
How to

Enabling ‘Prevent Uninstall’ in BlockP App: Step-by-Step Guide

Prevent uninstall is a feature in BlockP which will help you prevent the application from being uninstalled. The application requires a special permission called device admin, which will help us detect the removal of the BlockP application from your phone. Along with password protection feature, Prevent uninstall works like a charm and prevent you from relapsing. Step 1: Go to the BlockP App and go to the Advance Blocking Step 2: Enable the ‘Prevent Uninstall’ Option Description: Prevent uninstall means that you cannot uninstall this application. Enable the ‘Prevent uninstall’ option. Step 3: Activate the Device Admin permission Action: Once you try to enable this feature, the following interface can be seen: Step 5: Attempt to Uninstall an Application Action: Once enabled, if you try to uninstall any application, the following will be displayed: Result: The app couldn’t be uninstalled because ‘Prevent uninstall’ is enabled. Step 5: Methods of Preventing Uninstall Description: There are different ways you wouldn’t be able to uninstall the application. Example: Device Admin Action: Go to the device admin. Result: The same display will be shown since ‘Prevent uninstall’ is enabled: Step 6: Block Apps in Settings Action: Go to the main screen and click on ‘Add’ in the ‘Block setting section.’ Action: Remove ‘apps’ from the list shown. Result: Your screen will look like the following: Step 7: Access App Management Action: Go to ‘Apps.’ Action: Click on ‘App management.’ Action: Click on BlockP. Result: The following will be displayed: This is how we prevent uninstall using the ‘Prevent uninstall’ feature. By following these steps, you ensure the application remains installed and protected from being uninstalled through various methods.

How Set Custom URL on Block Screen on BlockP App
How to

How Set Custom URL on Block Screen on BlockP App?

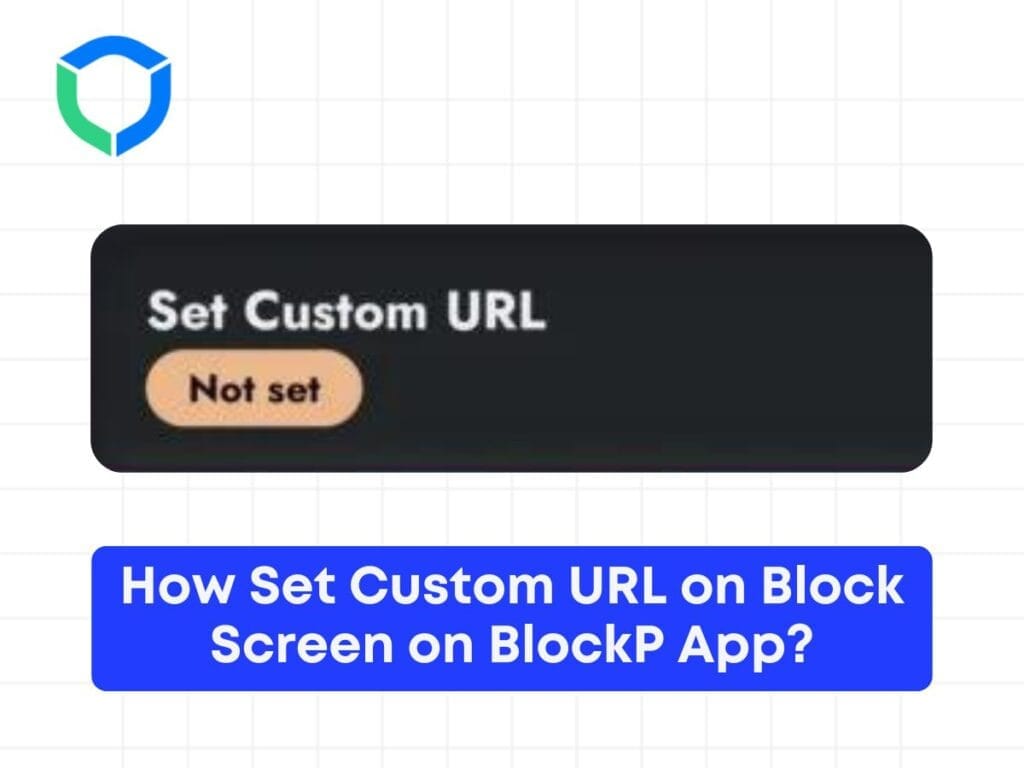
When you try to access porn or any other content you have added to the blacklist, a display message appears showing that the website is blocked and it gets redirected to a custom website address. You can choose the website to be redirected to by setting a custom URL in the BlockP app. To set a custom URL, follow the steps below. Step 1: Click on the custom blocking in the dashboard Step 2: In the dashboard section, scroll down to the bottom where you can find the option “Set Custom URL” and type in the website address you wish to be redirected to. Step 3: Save the settings and make sure that BlockP is enabled. Step 4: Check to see if it works. When you try to open a blocked website, you will be able to see the blocker display message which then gets redirected to your customized website URL.

How to Set Custom message on Block Screen
How to

How to Set Custom message on Block Screen?

This feature allows users to customize a message to be displayed when a blocked site is accessed. When the individual tries to visit a blocked site, the BlockP porn blocker not only notifies them that the site is restricted but also displays a custom message. Follow the steps below to set a custom message for your block screen Step 1: Click on the custom blocking in the dashboard Step 2: In the dashboard section, scroll down to the bottom where you can find the option “Set Custom Message” and type in the message you want to be displayed. Step 3: Click on “Save” and make sure that BlockP is switched on. Step 4: You can test to see if it works by visiting a blocked site. When you try to open a blocked site or app, the blocker message displays the reason for restriction along with the custom message set. This custom message can include personal goals, motivational thoughts, or reasons for avoiding such content, encouraging users to stay focused on their objectives.

How to Enable Auto Sync in BlockP App
How to

How to Enable Auto Sync in BlockP App?

This feature makes sure that all settings, customizations, and blacklists are updated across all your devices on which BlockP is present and logged into. When you make changes on one device, such as adding a new website or keyword to the blacklist or setting a password, those changes sync with all other devices connected to your account. To enable Auto Sync on BlockP App, Follow the below steps Step 1: Download the BlockP App from google play store Step 2: Open the BlockP app and give all the permissions Step 3: Open the features tab as mentioned in below screenshot Step 4: Look for Auto Sync Feature at the Top and enable it Step 5: Once you enabled it, All your Blocklist and whitelist will be synced with your account and you can access it across multiple BlockP platform

How To Block All Porn Sites on Any Device Online for Free
How to

How To Block All Porn Sites on Any Device Online for Free?

It is more important than ever to safeguard ourselves and our loved ones from offensive content on the internet in today’s digital world. Using a porn filter app or website blocker is one of the best ways to do this. Particularly for kids and teens who are getting more and more accustomed to the internet at younger ages, these effective solutions can contribute to the creation of a safer online environment. You can take charge of your digital health, encourage better internet habits, and make sure your family has a better online experience by knowing how to ban all porn sites. Why Block Porn Websites on Your Device? There are several compelling reasons to block porn sites on your devices: 1. Protect children and teenagers Early exposure to pornography might be detrimental to a child’s mental and emotional growth. It may result in skewed ideas about relationships, sexuality, and body image. You’re protecting their innocence and promoting development that is appropriate for their age by preventing access to such content. 2. Improve productivity Pornography is a major source of distraction and time waster. Removing access to these websites will assist you and your family members in concentrating better on work, education, or other worthwhile endeavours. In today’s remote work and learning situations, this is extremely crucial. 3. Overcome addiction Recovering from a porn addiction may require restricting access, and this can be a critical first step. It helps interrupt the loop of obsessive behaviour and eliminate temptation, freeing people to concentrate on more positive coping strategies and interpersonal connections. 4. Maintain healthy relationships Overindulgence in pornography can harm personal relationships. It can lead to intimate problems, inflated expectations, and decreased pleasure with real-life relationships. Relationships with others can be maintained and enhanced by blocking porn. 5. Reduce malware risks Numerous adult websites can harbour viruses, spyware, and other security risks. You’re safeguarding both your online security and moral well-being when you block these websites. By doing this, possible financial losses and identity theft brought on by malware infestations can be avoided. 6. Preserve mental health Expectations regarding sex and body image can become unrealistic as a result of frequent exposure to pornography. Low self-esteem, anxiety, and depression may be exacerbated by this. Maintaining a positive self-image and relationship perspective can be facilitated by blocking porn. 7. Protect privacy Unintentional access to pornographic websites might result in awkward situations or embarrassing traces in your browsing history, particularly when using shared computers. By proactively blocking certain websites, you can avoid any embarrassment and safeguard your privacy. 8. Promote ethical consumption Human trafficking and other ethical issues, such as exploitation, have been linked to the porn industry. You’re advocating for a more moral online community and opposing these practices by deciding to filter porn. Now that we know how important it is to filter porn, let’s look at some ways to do so on different platforms and devices. How to Block all Porn Websites on Android? Because so many people use Android devices, it’s important to understand how to ban pornographic websites on this platform. Here are some detailed methods: 1. Use built-in parental controls 2. Install a third-party app 3. Modify your DNS settings 4. Use safe browsers 5. Enable Safe Search in Google 6. Use Android’s Family Link app Install and launch Google’s Family Link application. Set screen time limitations, app permissions, and content restrictions using the app. How to Block Porn on iPhones and iPads? Strong built-in capabilities on Apple devices allow you to block porn websites. Here’s a comprehensive guide on how to block porn on iOS: 1. Enable Content & Privacy Restrictions 3. Restrict web content: 4. Use third-party apps 5. Enable safe search in browsers 6. Set up Family Sharing 7. Use DNS filtering 8. Enable restrictions for specific apps By following these instructions, you may successfully block all pornographic websites on Apple devices and give your family and yourself a safer online experience. How to Block All Porn on Chrome PC? For Chrome users on desktop computers, here are comprehensive ways to block porn websites on chrome PC: 1. Use Chrome’s built-in SafeSearch 2. Install Chrome extensions 3. Modify your hosts file 4. Use OpenDNS 5. Enable Supervised User 6. Use Chrome’s built-in site blocking 7. Implement Google Family Link 8. Utilise Windows parental controls By implementing these methods, you can effectively block all porn sites on Chrome PC and ensure a safer browsing experience. Block Porn Websites on Your Wireless Router To block porn sites across all devices on your home network, follow these detailed steps: 1. Find content filtering options in admin panel 2. Enable porn site blocking 3. Apply DNS-based filtering 4. Set up OpenDNS 5. Enable logging 6. Secure your Wi-Fi 7. Update router firmware IP Addresses of the Most Popular Clean DNS Providers Here are some reliable DNS providers to help block porn sites, along with their IP addresses: Using these DNS servers can help you block all porn sites at the network level. To implement these: Remember that while DNS filtering is effective, it’s not foolproof. Combine it with other methods for comprehensive protection. How to Block Porn on Mac? Here’s a comprehensive tutorial on blocking porn websites for Mac users: 1. Use built-in parental controls 2. Modify your hosts file 3. Use third-party software 5. Enable safe search in browsers 6. Use OpenDNS 7. Implement network-level blocking 8. Use Mac’s Profile Manager These techniques will enable you to successfully block all pornographic websites on your Mac, giving you and your family a safer online experience. How to Block Porn on Windows? To block porn sites permanently on Windows, follow these comprehensive steps: 1. Use Windows Family Safety 2. Modify the hosts file: 3. Use third-party software 4. Enable safe search in browsers 5. Use OpenDNS 6. Implement Group Policy (for Windows Pro and Enterprise) 7. Use Windows Defender SmartScreen 8. Set up a local proxy server By combining these methods, you can effectively block all porn sites on Windows, creating a safer browsing environment for all users of the computer. Block All Porn Websites on BlockP: Free Porn Blocker BlockP

Scroll to Top